Article: Apply Dollhouse Wallpaper Like a Pro

Apply Dollhouse Wallpaper Like a Pro
PRE-APPLICATION TIPS
Determine where your wallpaper section will overlap/join. Just as in full-size wallpapering, mini rooms have focal points. A focal point is where the eye is first drawn in a room. The most common focal points are picture windows, fireplaces, ornate staircases, etc. The last place your eye will rest (usually the corner of the room farthest from the focal point) is where your wallpaper seams should be. In some cases, the seam can meet at a window, especially if the window is covered with an elaborate curtain treatment.
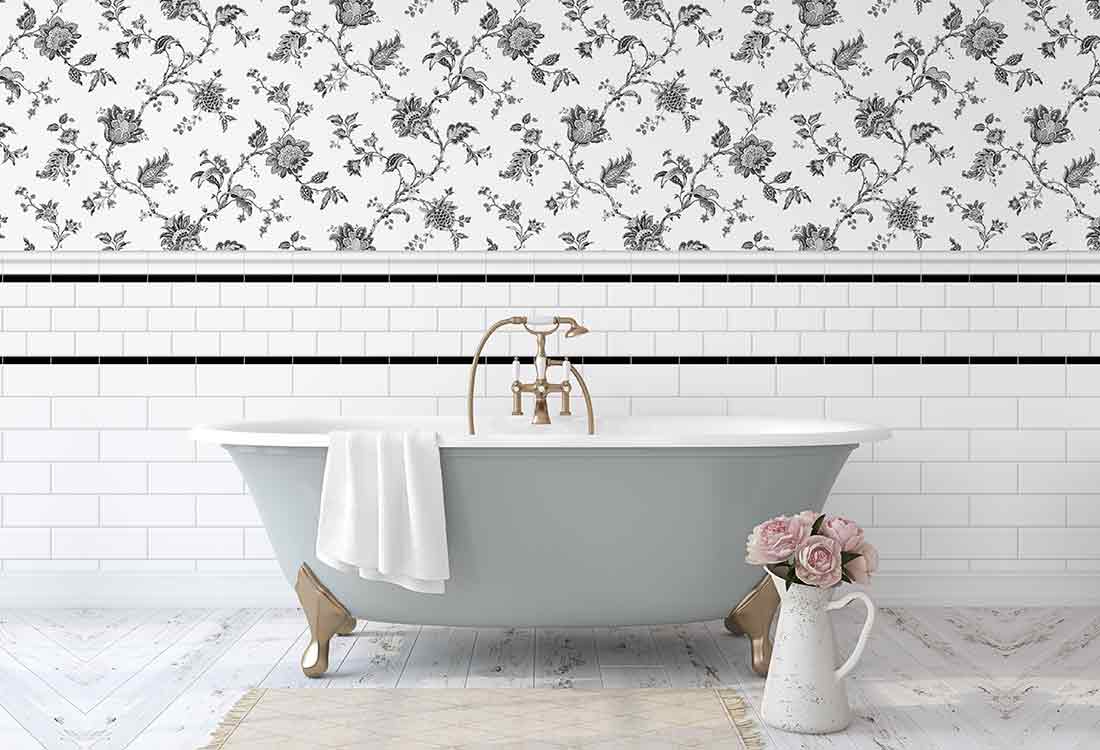
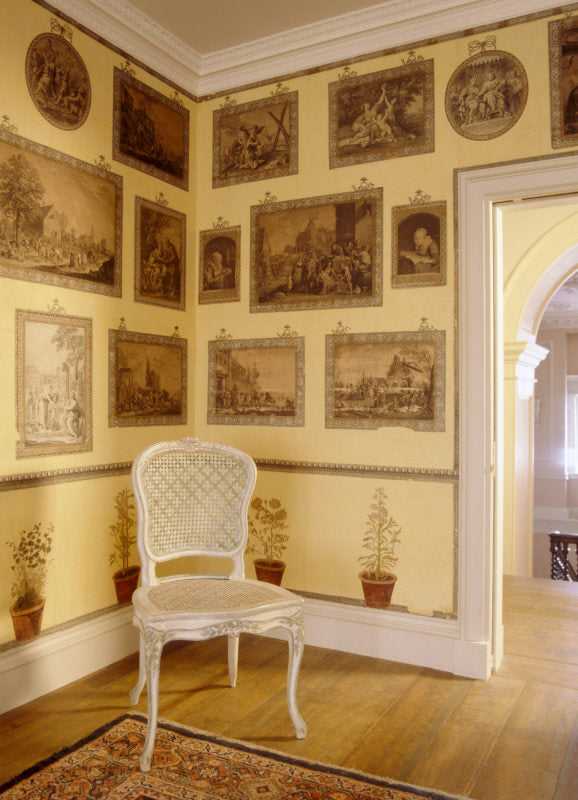
If your wallpaper has a border, separate it from the main sheet and install it last. This will cover any gaps between the ceiling/crown molding and the main wallpaper, or you may decide to change the location of the border i.e.: installing the border at chair-rail height, after the wallpaper goes up. I recommend leaving a gap between the ceiling and top of wall and also at the bottom of the wall to allow the crown molding and baseboards to grip better when glued to the wood walls.
Install wallpaper over doors and windows. Cut the paper from around the openings when paper is completely dry with a sharp razor blade, pushing the blade away from you as you cut. This will ensure you don’t pull the wallpaper away from the wall. If this happens, apply paste to the edges and hold firmly in place for approximately 30-45 seconds. Install doors and windows after the wallpaper has been applied.
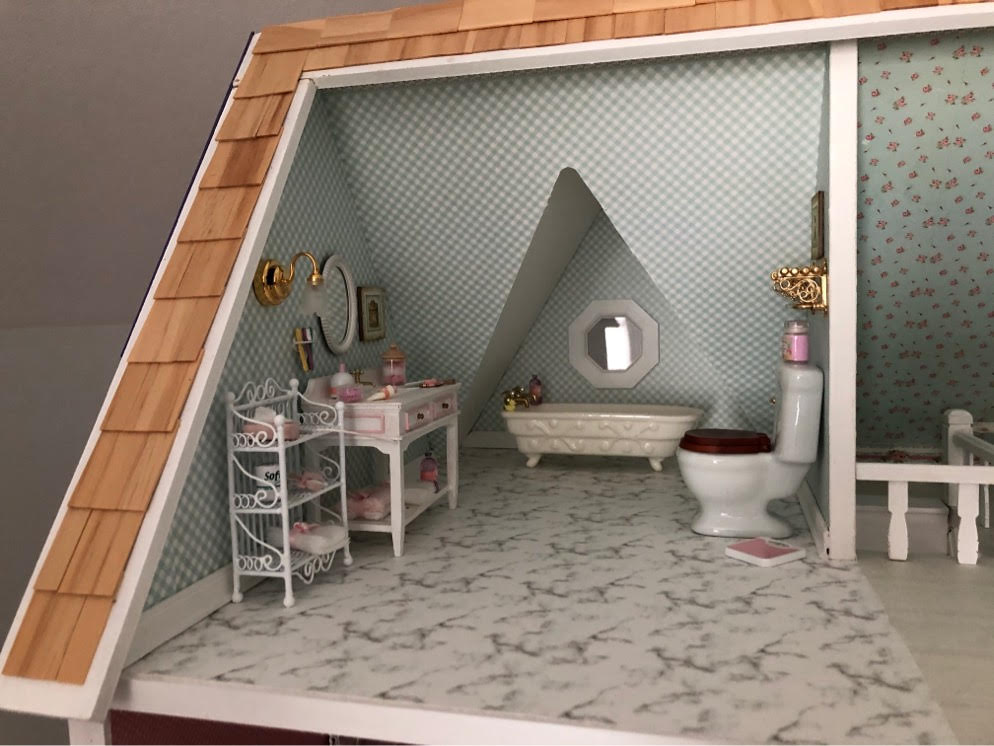
Wallpaper should be installed on odd-angles in room first. Example: if you have an enclosed staircase or if you have a pitched roof. Dollhouses made by Greenleaf have these unique angles.
GATHER YOUR TOOLS
For both unpasted and peel & stick wallpaper, you will need a ruler; sharp scissors and razor blade; credit card (essential for heavier paper).
For unpasted wallpaper you will also need Grandmother Stover's wallpaper paste or Yes! Paste (most dollhouse wallpaper paste will work). You can get your paste here.
APPLICATION
1) Measure the depth of the room and add ¾” to total measurement. Measure the height of the room and subtract ½” to accommodate crown molding and baseboards (subtract only if NOT installing baseboards and crown molding). Cut paper and apply paste—work fast to avoid drying. You can use a popscicle stick, plastic knife or spoon to scoop out a tablespoon of paste and apply it directly to the back of your wallpaper. Avoid diluting with water. Use a credit card or plastic spatula spreader (i.e. bondo spreader found in automotive supply store) to smooth out paste.
2) Start first run of wallpaper on right front of room. You will install the right edge of wallpaper to front edge of room going backwards into the room. Smooth gently with credit card as you go. Make sure you don’t pull wallpaper away from front edge of room. If any paste oozes out of edges, wipe with a slightly damp cloth.
3) Continue applying wallpaper, paying particular attention to the corner of the room, as well as the top and bottom edges. Use the edge of a credit card to press wallpaper gently, but firmly into the corners.
4) Smooth remaining ¾” onto the back wall with credit card. The edges of wallpaper should be firmly “stuck” to the wall before continuing.
5) Repeat the process on rear wall, again going from right to left (remember to add ¾” to total width of paper and subtract ½” for crown molding and baseboards). Make sure to match the print where you overlap the wallpaper edges on the right (please remember to do this before cutting).
6) Repeat the process on left wall. Do add ¾” to the width as you will slice off the final wallpaper edge with the razor blade when paper is dry.
7) As you go: Gently smooth entire surface again with credit card. Get a lamp (full-size) to direct light into the room while you look for bubbles and gaps. Inspect the corners to make sure the wallpaper is firmly wedged in before moving on to the next section.
8) Install crown molding and baseboards, if desired.
9) Install border and admire your work!
*Itsy Bitsy Mini gives special thanks to Jeannette Wheeler of Roanoke, Virginia for sharing her expertise regarding using Itsy Bitsy Mini wallpaper.
*Photo - Janice Biennas


Leave a comment
This site is protected by hCaptcha and the hCaptcha Privacy Policy and Terms of Service apply.